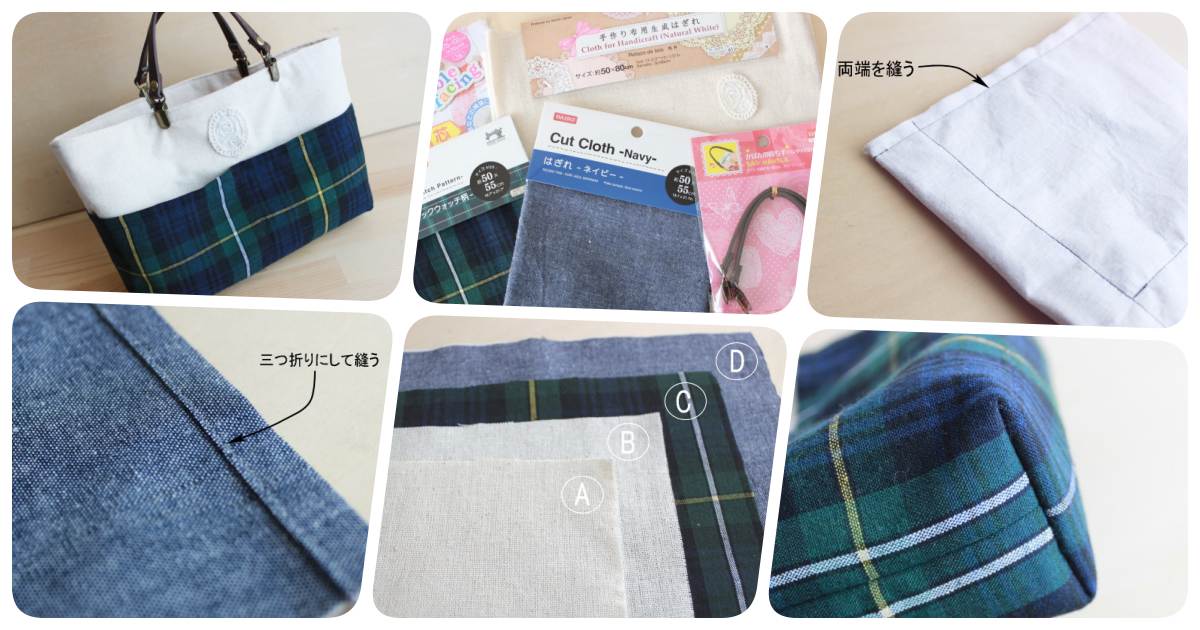
Tote bags that are convenient as reusable-bags and second-bags for shopping are light-weight and easy to use. However, there is no partition, so the inside of the bag can be messy…
A bag-in-bag is recommended for those times! Not only you can pack your belongings compactly, but you can also quickly take it go what you need on the day for the bag you want to use, so you don’t have to worry about forgetting things when you switch your bags.
However, if it is a commercially available bag-in-bag, “the size of the pockets etc. does not fit” or “there is no favorite design”.
So, this time, I will introduce how to make an original fashionable bag-in-bag easily using materials that can be purchased for a dollar!
How to Make a Bag-in-Bag
1. Things to prepare for bag-in-bag making
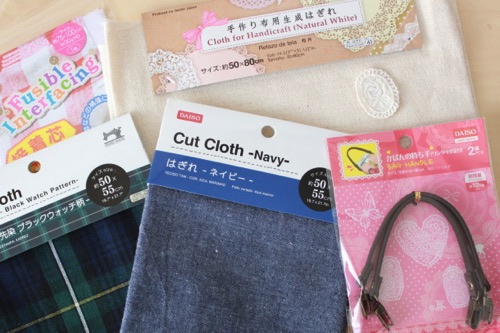
[Items from Dollar Stores]
◎ A piece of fabric for the front and inner parts (length 80cm [31.5 inches] x width 50cm [19.7 inches]) … 1 sheet
◎ A piece of fabric for an inner pocket (length 50cm [19.7 inches] x width 55cm [21.7 inches]) … 1 sheet
◎ A piece of fabric for an outer pocket (length 50cm [19.7 inches] x width 55cm [21.7 inches]) … 1 sheet
◎ Single-sided fusible interfacing (length 75cm [29.5 inches] x width 100cm [39.4 inches]) … 1 bag with 1 sheet
◎ Handles (one-touch type) … 2 pcs set
◎ A lace (favorite) … 1 piece
[Other items to prepare]
◎ Sewing needles
◎ Sewing threads
◎ Scissors
◎ Iron
◎ Sewing machine
2. Cutting the Fabric│How to Make a Bag-in-Bag
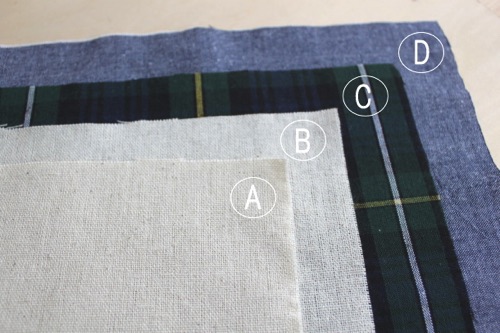
Cut pieces of the fabric of (A) and (B) into the following sizes:
(A) Outer surface: L40 cm x W30 cm [L15.7 inches x W11.8 inches]
(B) Inner surface: L40 cm x W30 cm [L15.7 inches x W11.8 inches]
(C) Outside pocket: L30cm long x W30cm [L11.8 inches x W11.8 inches]
(D) Inside pocket: L30cm x W30cm [L11.8 inches x W11.8 inches]
*This time, pieces of the fabric used for (A) and (B) were 80cm long x 50cm wide, so the front and back parts were cut from one piece of fabric. If the fabric is smaller than that, you will need two pieces of fabric for the front and back parts.
3. Placing Pieces of Single-Sided Fusible Interfacing on the Fabric | How to Make a Bag-in-Bag
Cut pieces of single-sided fusible interfacing (length 75 cm x width 100 cm [L29.5 inches x W39.4 inches]) to the same size (length 40 cm x width 30 cm [L15.4 inches x W11.8 inches]) as (A) front and (B) inner parts.
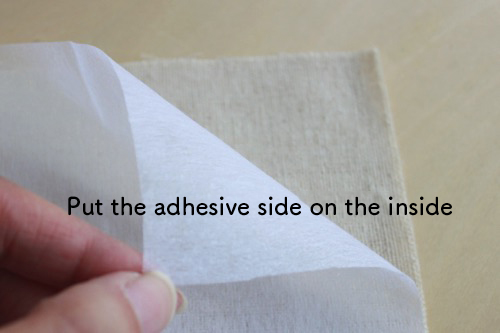
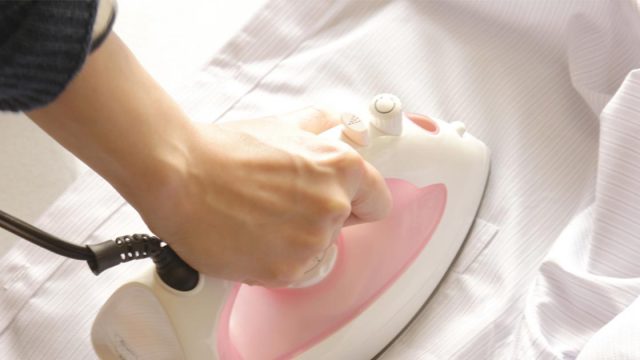
Place the adhesive side on the inside and align it with (A) and (B), apply the fabric, and use a piece of clothes on top of the interfacing with an iron while setting a medium-temperature for about 10 to 15 seconds.
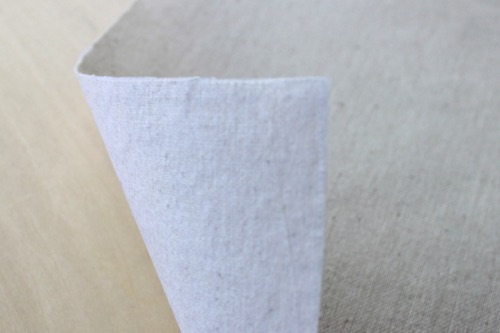
It will look like this when putting them together. The adhesive side of the fusible interfacing is (A) the back side of the front fabric and (B) the back side of the inner fabric.
4. Sew the Pockets on| How to Make a Bag-in-Bag
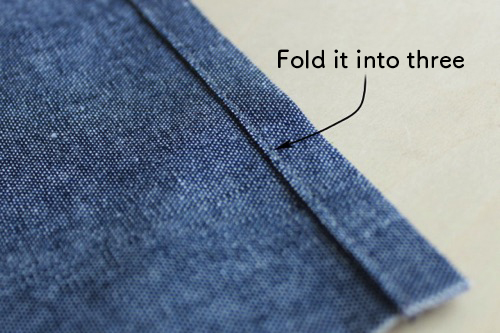
Fold both ends of the inner pocket of (D) 1cm, fold 1cm again and sew it (trifold).
In the same way, sew the outer pocket of (C) with both ends folded in three (trifold).
5. Sewing Pockets on the Outer and Inner Parts│How to Make a Bag-in-Bag
(A) The front part and (C) outer pocket, (B) inner part and (D) inner pocket will be sewn together. It is the part that finally becomes the inside of the bag.
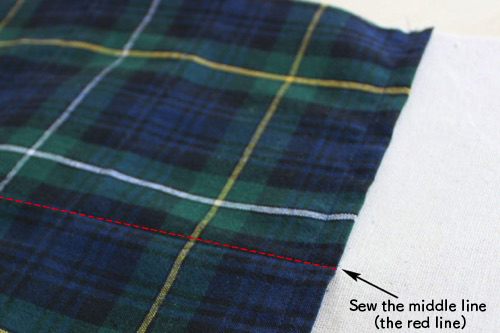
First, place the surface of the inner pocket (D) on the surface of the inner part (B) (the non-adhesive side).
Sew the bottom (6cm [2.4 inches]).
Sew (A) Outer part and (C) Outer pocket that becomes the bag body (A) Place the outer pocket surface on the surface of the outer part (the one without the adhesive core) in the same arrangement as the above image, and the bottom (6cm [2.4 inches]).
Sew the pocket divider | How to Make a Bag-in-Bag
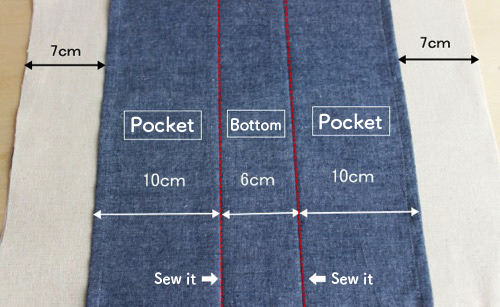
(C) For the outer pocket, sew from the perforation at the bottom to the pocket mouth folded in three (trifold). This time, the front and back of the front parts were sewn in the middle of the fabric.
(D) Only one side of the inner pocket was sewn at the center of the fabric, but it is convenient to sew several pockets as you like.
7. Sew both ends of the body│How to make a bag-in-bag
When you sew a pocket on the body, turn it over and turn it inside out, and sew both sides 1cm [0.4 inches] from the end.
(A) Leave the same for both the front and (B) inner parts.
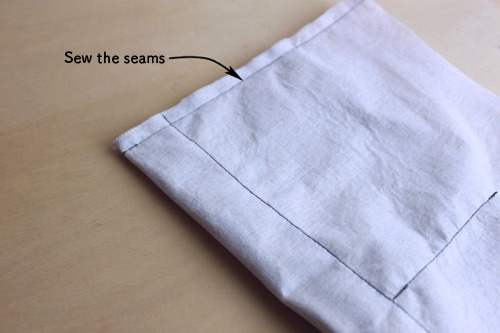
8. Sewing the Seams of the Bottom│How to Make a Bag-in-Bag
Pinch the bottom seams into a triangle with a height of 3cm [1.2 inches] and a bottom of 6cm [2.4], then sew the bottom about 6cm [2.4 inches].
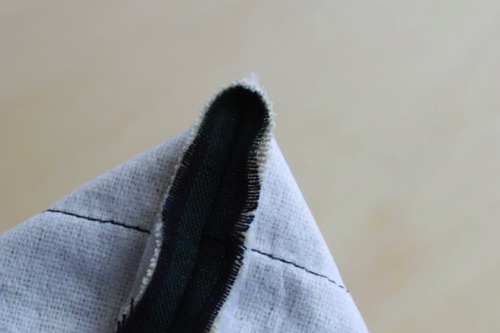
Cut the seams and leave about 1cm [0.4 inches] of the triangle.
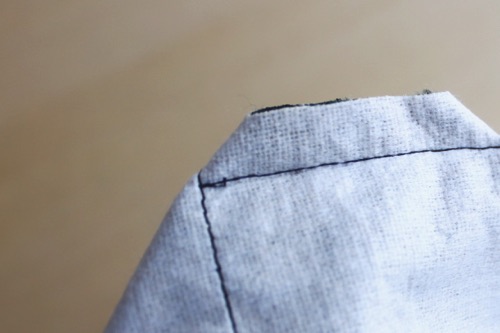
Turn it inside out.
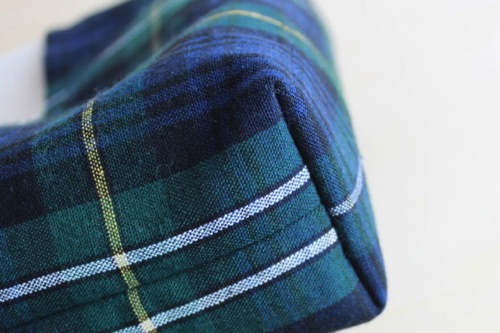
Created a width of 6cm [2.4 inches] !
Sew the Bag Mouth | How to Make a Bag-in-Bag
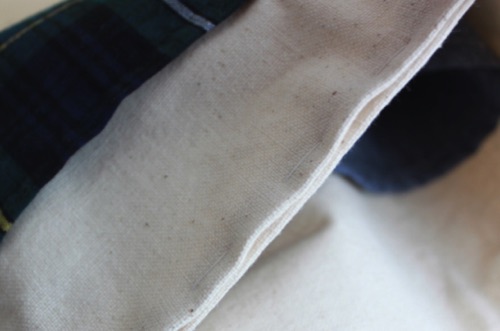
Fold the mouth part of the (A) front part and (B) inner part into the back of 1cm [0.4 inches] and use an iron.
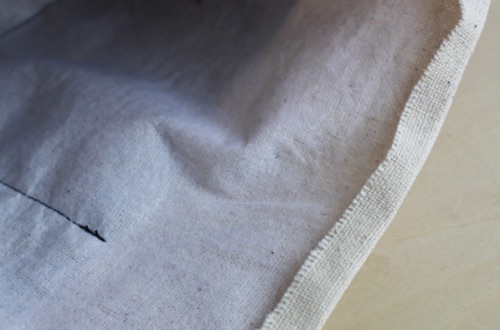
Next, put the (B) inner part into the (A) outer part so that it is the same as the finished one.
Then, put the mouth part together that was ironed earlier and sew it in basting stitches.
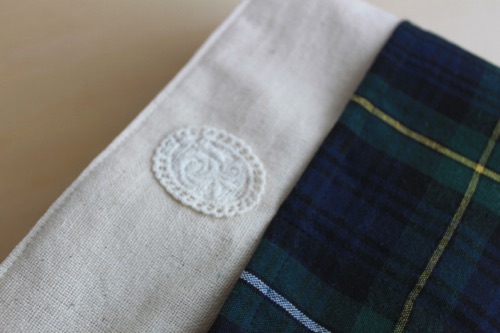
Sew about 5mm [0.2 inches] from the top of the mouth with a sewing machine. Take the basting stitches off and sew your favorite lace together.
10. Finished! Bag-in-bag!!
Once you put clip-attached handles, you have a bag-in-bag!
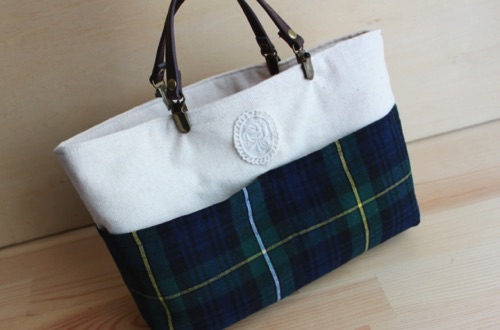
The size is about 16cm in length × about 22cm in width [L6.3 inches x W8.7 inches] and 6cm [2.4 inches] in gusset. The material cost was 6 dollars and it was easy to make in about 30 minutes!
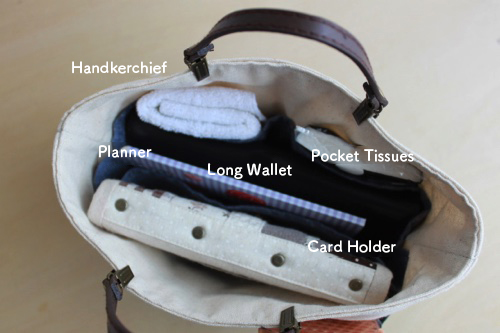
Here are Images of the Bag-in-Bag in a Bag
I put a handkerchief, pocket tissues, long wallet, planner, and card case.
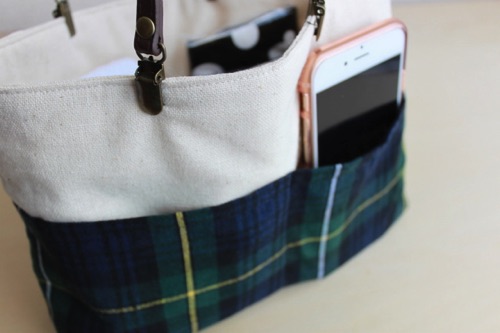
It looks like this when you put your phone in your outer pocket of a bag-in-bag. Please adjust the width and number of pockets as you like.
If you have a bag-in-bag, a tote bag with no pockets can be more convenient.
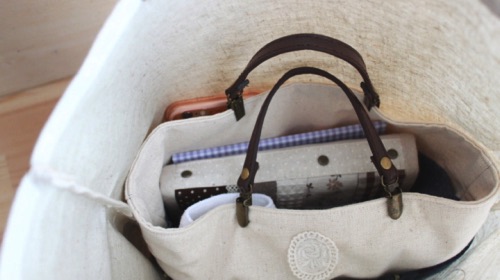
If you have more belongings you’d like to put in your bag, you can use the bag-in-bag out of the tote bag as a bag!
Finally
Bag-in Bags can be handmade choosing a size, pockets, or designed you want.
For example, it is nice to make a tote bag and a bag-in-bag with matching designs.