Do you have a problem like “I CAN’T DO IT CLEAN…” or “I’m not good at ironing…”?
Here are three tips to make ironing finish look better. This time, I picked up T-shirts and polo shirts to demonstrate. You can read it in about 3 minutes, so please try it out.
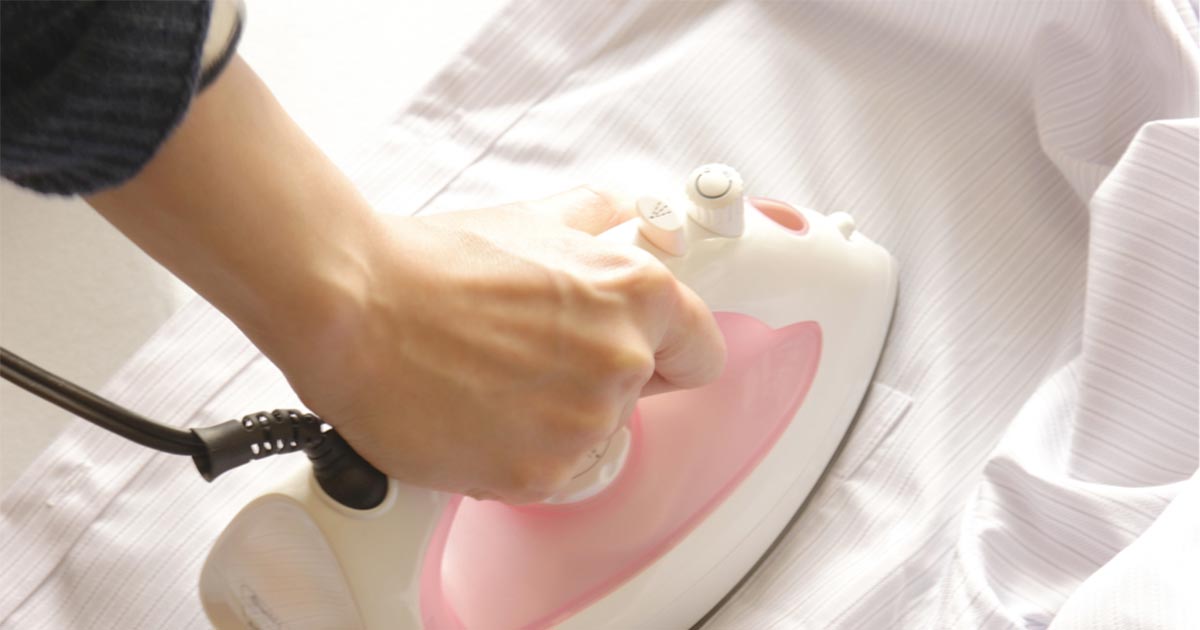
Let’s Prepare for Ironing
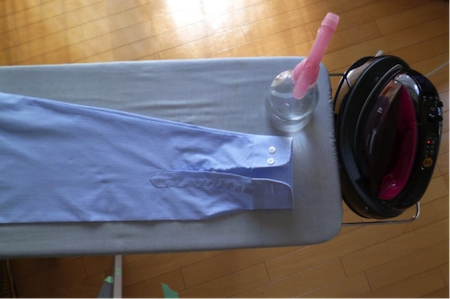
Preparation: 5 Items You Need for Proper Ironing
Let’s prepare what you need for ironing.
- Steam iron
- Ironing table
- Water (for a steam iron)
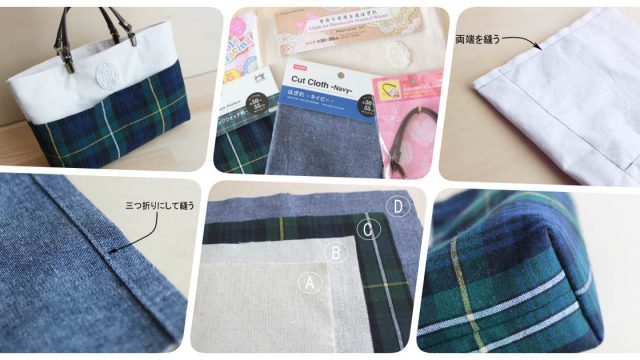
- A piece of cloth (or a handkerchief)
- Ironing spray
Set the Temperature of Your Steam Iron According to the Washing Signs of Your Shirt
The laundry label on the shirt indicates the proper temperature of the iron by the number of 「・[a dot]」. “・・・[three dots]” means low (to 110 ° C [230 ° F]), (to 120 ° C [248 ° F ]) means medium and “・・・・” means high (to 200 ° C [392 ° F ]). The proper temperature varies depending on the material of the shirt, so please don’t forget to check it!
Use Your Hands to Roughly Smooth Out Wrinkles Before Ironing
Before you start ironing, use your hands to smooth roughly to remove wrinkles. Also, if you shape your clothes here, you can prevent them from losing their shape later.
Three Essential Tips for Ironing
(1) Let’s Divide the Parts in Order and Start From Small to Large
You should iron in order. First, start from small parts (sleeves and collar) and move to large parts (main body). If you leave the small parts for later, you will get wrinkles on the large parts when you iron the small parts.
(2) Pull the Seam With the Unused Hand
When ironing, an unoccupied hand should pull the seams, not just the clothes. The fabric stretches while pulling the shirt with your unused hand and the finish will look better.
(3) Let’s Move It Straight. Do Not Move Your Iron in Zigzag Motions : Can Cause Wrinkles!
If you move the iron in zigzag motions, it will wrinkle in that direction.
Be sure to keep in mind the direction of ironing straight. It’s easier if you slide it gently instead of pressing it tightly.
Tips For Ironing T-shirts:
If You Iron T-shirts, They Would Look Like New
The basic steps and tips are as described above, but here are some of the key things you can do with a T-shirt.
Move the Iron From Top to Bottom
T-shirts are made to be easy to stretch left and right and hard to stretch from top to bottom. Let’s move the iron according to this characteristic. Specifically, you can iron like, “The sleeves are hung outward from the shoulders” or “The bodice is hung vertically from the neck to the hem.”
Use A Piece of Cloth to Cover the Printed T-shirts
If you iron the printed part of the T-shirt directly, it might melt. Be sure to use a cloth and iron while protecting the printed part.
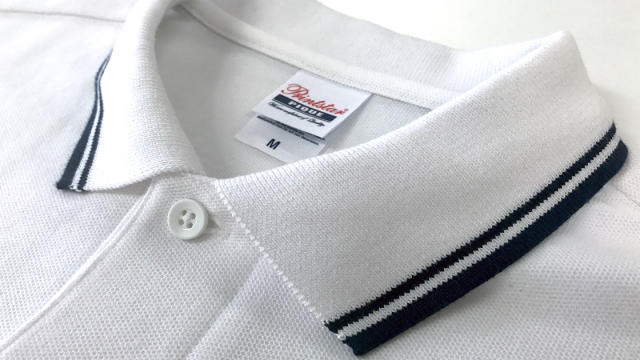
The Key to Ironing a Polo Shirt
The basic is the same as a T-shirt, but a polo shirt has a collar.
Let’s remove all the buttons and straighten the collar before ironing. By the way, if you put an iron on the collar, it will be finished quickly.
Don’t Let Dark Colored Shirts Shiny Parts develop!
Shining refers to a phenomenon in which the surface of a fabric becomes shiny and occurs in the seam allowance, pocket, etc. The reason is that the fibers are crushed by the iron. To prevent this, you can lift the iron a little or insert a patch.
If You Stretch Out the Wrinkles When You Dry It, Ironing Will Be Easier!

Another way to make ironing easier is to stretch out the wrinkles when you dry your laundry. Just doing this reduces wrinkles when the laundry dries and makes ironing much easier.
Conclusion: The Key to Ironing Is to Start From the Small Parts While Pulling and Iron In a Straight Line!
When ironing, you need to be aware of 3 things: “apply from small to large parts”, “pull with an open hand”, and “move in a straight line” so you can finish it neatly.